Search This Blog

Sunday, January 29, 2012

Broadening my Horizons on the Sewing Frontier

This is the year I am going to sew other things.  I can sew, I know I can, I just haven't had the patience to learn new things.  Like pillow covers, and bags, and iPad covers.  So far this year I have now made an iPad cover, and now not just one but TWO pillow covers AND a bag.  Go Me!

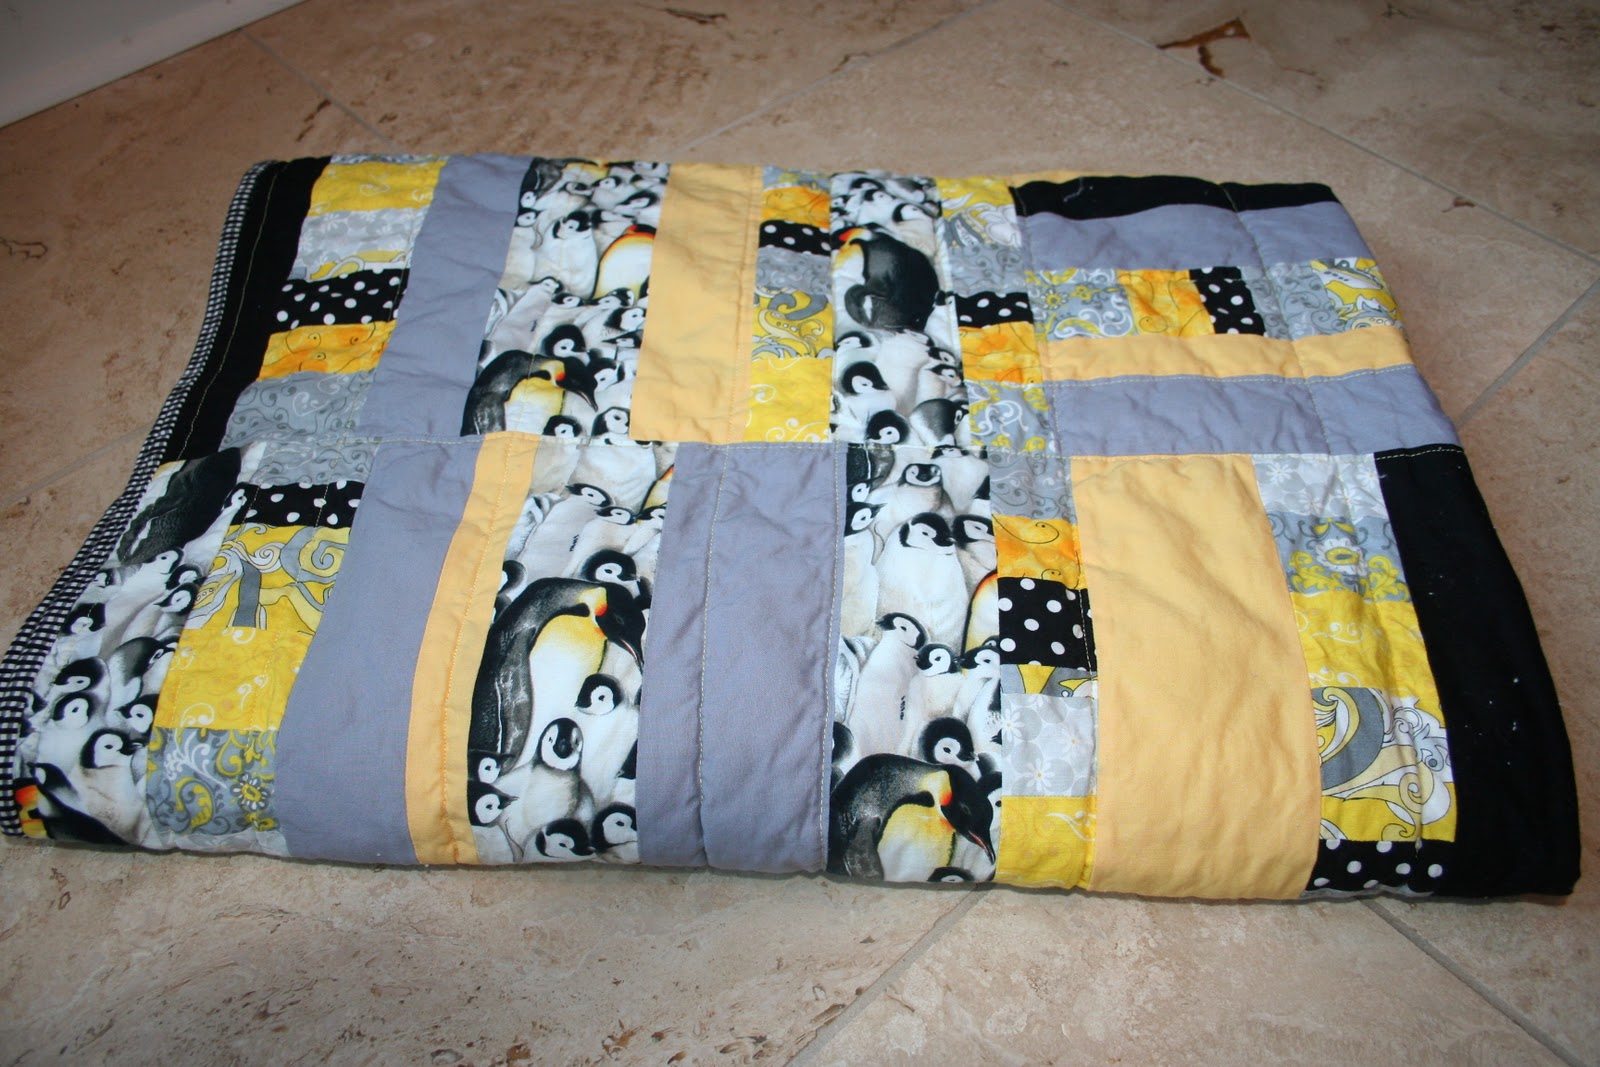
I used this tute on the Sew, Mama, Sew Blog, and I had some left over Sherbet Pips fabrics.  I thought the pillow covers would be a nice addition to the Snawder Sherbet Pips Quilt I made last year.  

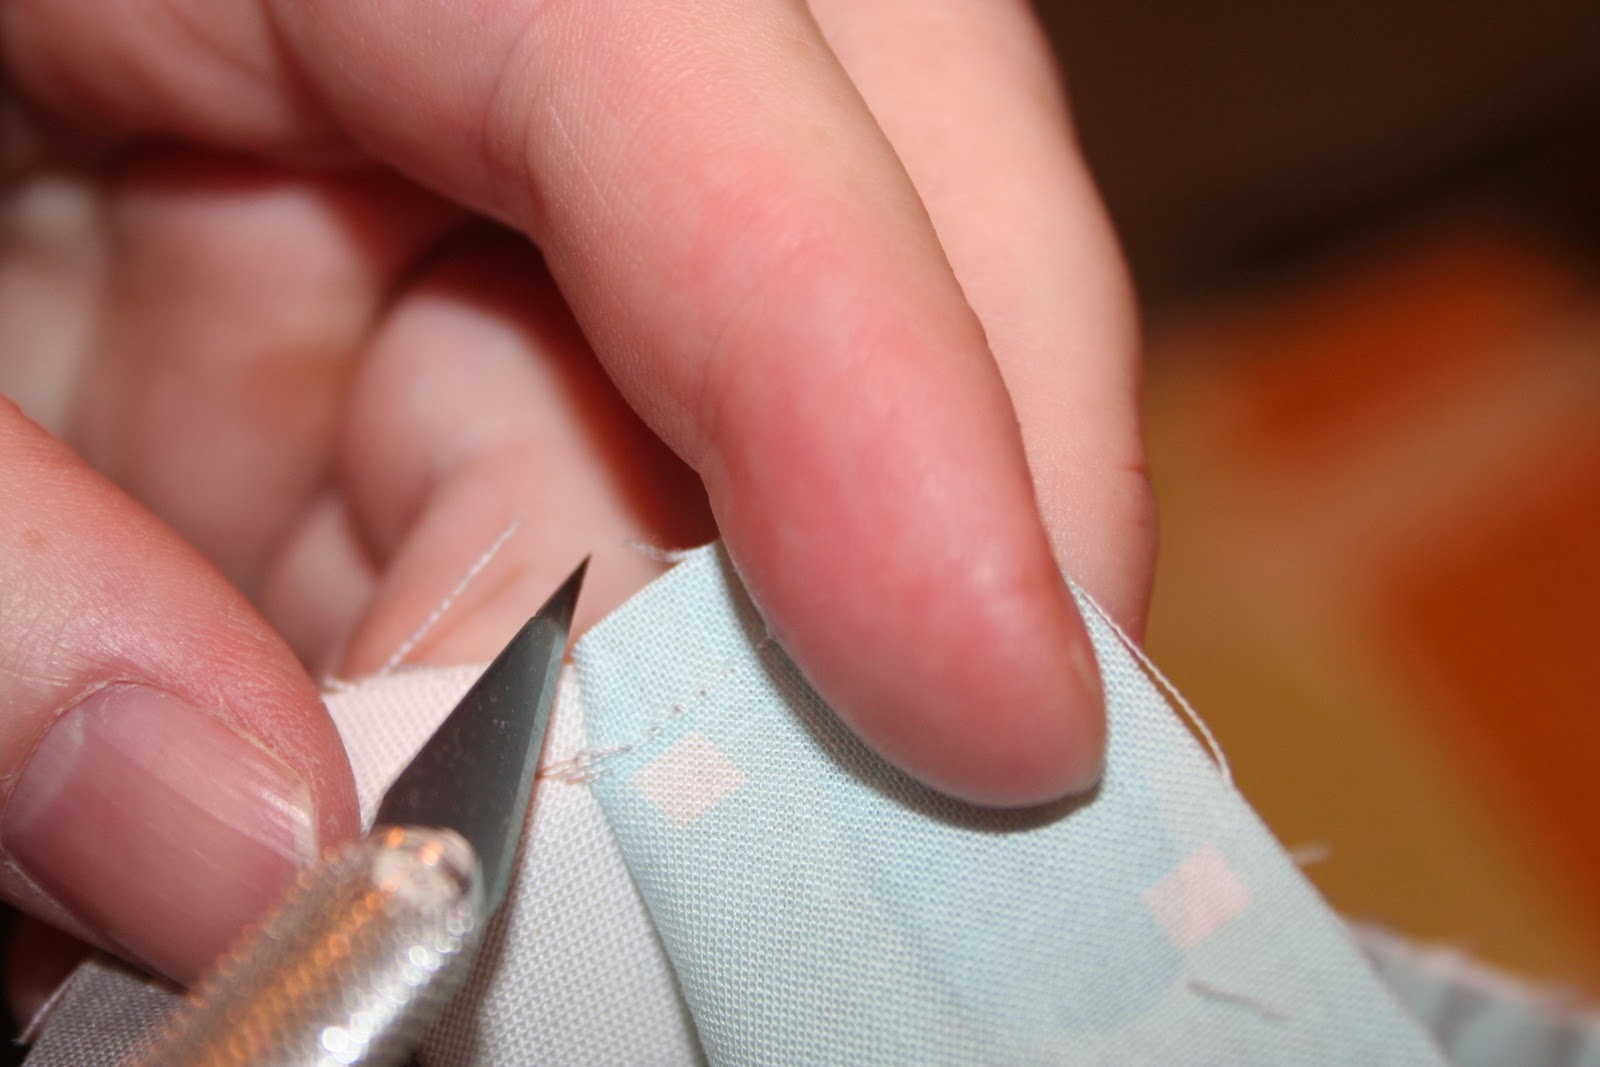
And since this was my first time tackling a pillow cover, I decided to make two, I'm nothing if not ambitious.  This pillow cover has a bound edge, and I'm not sure I absolutely love it.  I have other tutorials though, so I will press on.  And these covers turned out well enough to gift to the family with the Sherbet Pips quilt, so they will be passed on.  After I show them off.

You know how you are just clicking along the internet, reading blogs, checking links?  And then you hit one, and go 'oh, I'm going to make that.  Right now'.  That happened, it was this link to Toy Sack.  My nephew was having a birthday, so perfect.  Except I had to go to JoAnn's to get the vinyl first, and I really wanted to finish those pillows, I'm trying to finish things not just start them.  So it wasn't quite right away, but it was the next thing.  I decided to add a panel with his name to the sack which isn't on the tutorial, because I am EXPANDING, and my machine can write words.  

Really, it took me only 4 tries to get it down correct.  This was one of the times I thought it was right, but I didn't realize I should stop at the end of SACK, I thought it would be automatic, but it just kept going.  It looks like 'sackity'.  

Fourth times a charm.  Looks good, no?

The front and the back.  The clear vinyl allows you to see the toys inside.  Very clever, the tute writer must be a Mom.  We like to spy.

Front of the toy sack.  

Back of the toy sack, and it is only  a week late for the birthday boy.  

Tuesday, January 24, 2012

I'm fairly certain, we will never see the sun again

If I keep waiting for the sun to take photos, it will be June I'm sure before I can get any.  This is where Tropical Paradise started, with using up blue Kaffe Fassett fabrics.  Now, me and Kaffe have a 'thing', but, personally blue isn't one of my favorite colors.  Oh, those vendors they know how to stack the fabrics just right in a booth, and the whole stack ends up in my bag, no matter the colors.  And then I have a stack of blues and greens.  That stack sure does look good sitting on the shelf!  I know blue is the favorite of a lot of people, so eventually I will find a use.

I sent off packages to my bee mates in Sew Modern Quilt Bee, to make reverse confetti blocks.  I wanted to use up all these blue prints, and I did!  The blocks were 10.5" unfinished, a very manageable size.

This is how it came together a few months ago.  My bee mates did a wonderful job!  I did such a good job using up all the blue prints, that I wasn't sure what to add for another border.  Luckily for this quilt top, my SIL came over, loved the vibrancy of this top, and picked it for herself.  Then she went through my fabric closet and found a border fabric that picked up on all the tropical flower motifs in the other prints.

This is where the back started, a mix of  Konas and shot cottons.

 I have to say, I just adore this back.  I had the perfect amount of print for the border and back.  I quilted boxes and lines all over, sometimes following the block pieces, sometimes going through them.  It was a random adventure.

Tropical Paradise came out to 66" X 77".  

And the back came out just the same measurements.  It looks like it is floating, right?  The wind was kicking just a little.

I'm not a fussy labeler, but I do want there to be a label.  I usually add the name of the quilt in thread on the front, I free motion script.  

With the recipients name, my name, and the year.  The year is always a little tricky to script in.  I had this quilted before Christmas, I just didn't have the binding on until last week.  I took the quilt for a test drive on my sofa after it's first wash, and it was wonderfully warm and comfy, just as a quilt should be.  My whole plan of using the blues and finding the right person for the quilt all came together, and no matter the sun, it's a beautiful day when a quilt has a new home.

Sunday, January 22, 2012

If you sew, you also Unsew

What do you unsew with?  It's a rule, if you sew, especially piecing and quilting, there will be unsewing involved.  I have several tools that can be used for unsewing.  They are all handy and I use the thread clippers often, I keep them by my machine, but not for unsewing seams.  My preference for unsewing seams is the knife with blade.  I find it to be quickest getting into the seams and cutting through the threads rather than clipping threads.  For picking out quilting, which I am loath to do, probably one of the other instruments would be better suited.  I cringe when someone talks about picking out quilting stitches.

You can hold your pieces of fabric like this and slice through the seam with the knife.  Once you get your hold of the two pieces being separated down pat, the slicing goes super fast.    

Make sure your blade is going down, not up towards your face and fingers.  I would say, don't try this at home, but, you know, it's where we all are.  I haven't yet sliced myself with this blade, but you can see a scar on my index from slicing with a rotary blade. I've done that now so many times, I have my first aid kit nearby and can bandage without a break in sewing.  Ask me how I took these photos by myself....I held the knife in my mouth, (also don't do that at home), and had the camera balanced on top of my machine.   I use both hands when actually unsewing.

I'm making pillow covers.  I want to make a few, and I needed practice and found a good tutorial.  I'll post the link when I get these completed.  These will be sent to the family with the Sherbet Pips quilt.  I had some leftover fabrics and thought this would be a good use of them.

I have quilted and bound this Tropical Paradise, but the sun won't come out for photos, it's been days.  

A close up of the back and quilting.  

Tuesday, January 17, 2012

Vote for Me! (please) And Good News

EVERYONE GO OVER HERE AND VOTE FOR MY BLOGGERS CHOICE BUNDLE!  I'M #316!  THERE IS A COMMUNITY CHOICE AWARD FOR THREE BUNDLES WITH THE MOST VOTES.  Thank you, I will love you forever.


I HAVE A COMMISSION!!!!  Really, I don't know where to start, too many ideas going through my head.  I feel like I'm going to make 3 quilts, and say, here, pick one.   Also, I wet my pants from the excitement.  My husband told me not to take payment, because it is someone we know.  I asked, then how is that a commission?  That is a FAVOR, and a big one, especially if I end up with three, or they end up with three.  I am taking payment!  

Saturday, January 14, 2012

Blogger's Choice Fat Quarter Bundle

Whoop - whoop!  Here are my choices for the Blogger's Choice Fat Quarter Bundle contest.  I could win these fabrics!  And they would make such a deep rustic earthy quilt, love them!  It was hard to narrow down the choices when your choice is EVERYTHING!  And I'm just under the deadline, by a whole day.  
Here are my fabric choices:
1.  Kaffe Fassett Collective Brown Map
2.  Kaffe Fassett Teal Spot
3.  Bella Solid Natural
4.  Kaffe Fassett Paprika Spot
5.  Bella Solid Rust
6.  Bella Solid Turquoise
7.  Bella Solid Earth
8.  Kaffe Fassett Collective Brown Big Blooms
9.  Central Park Teal Tonal Brush
10.  Central Park Multi Wavy Stripes
11.  Central Park Cream Tossed Flowers
12.  Central Park Brown Wild Ferns


You can read about the contest HERE, on Laura's blog, thanks to her for setting up this contest.  And thanks to Fat Quarter Shop for sponsoring.  We were supposed to chose 12 prints and 3 solids according to the 'rules'.  I had already chose these 12 fabrics for my bundle when I re-read the rules, and saw a lot of other bloggers 'broke' the rules, so I'm going with these.

Wednesday, January 11, 2012

Crafties, Goodies, Beeies

My daughter had a great idea before Christmas, she saw a picture of a mug with chalk board paint on it, and decided to make these for Christmas presents.  I sent her to Michael's, Home Depot, and TJ Maxx for mugs and supplies.  We had plenty of time, like a week before Christmas to get these done, the weather was gorgeous se we got to work outside.

Apparently chalk board paint does not stick to ceramic mugs.  It just peels right off, like an orange peel.  Because my daughter is MY daughter, she did not read any directions, and neither did I, since I am, well me; we just started painting the ceramic mugs.  All of them.  Luckily, since the paint just peeled off, I did peel it off to return the ceramic mugs.    

After a return trip to TJ Maxx and some Googleing to you know, read some directions, we bought glass mugs, bowls and glasses to paint.  We used painter tape to square off areas for painting.

It took about 4 coats of paint, and after the first coat I could have stopped with the painters tape, but I didn't realize that until I was through about 50% of the painting.  I just kept taking it off, in one set of directions it told us to take the tape off right away so that the edges wouldn't pull off.  Then re-taping very accurately with curse words around the same area.  After the first coat I discovered I could just come close enough with the sponge brush and didn't need the tape.

We added some decorative touches with paint I had on hand and goodies and chalk to the gifts.  They were a hit.  They were all given away, and after all my help, I didn't get one!  I'm owed for next year, we have plenty of paint left.

I was so shocked/happy/surprised to get this in the mail from one of my bee mates!  Elisa in Sew Bee It flickr group sent it with her January fabrics!  I love this bag!  She made it from a bag that held rabbit pellets, aren't the rabbits just darling!  I will use it when shopping for all my pets!  Thank you Elisa!  I adore it.

I wanted to make much more of these swap string blocks.  Especially after I laid them all out together.  They are gorgeous!  I didn't run out of scraps to use, just time.   I only made 20 for the swap, I will be making more.  Here's the swap group if you want to join, round 2 is going to start.  

This is what I used the phone book pages for, the foundations for the string blocks.  Good use of phone book pages, I can't imagine having to use these to look up numbers anymore.  Kids, we actually used these books at one time, and Rain Man actually memorized his!  

Just one more, my block for January Block Party Bee, we are using blocks from the book Block Party.  The String X block.  

Saturday, January 7, 2012

I can't think of a catchy title - just read

Now, I have to say PLEASE, as in please read, like my Mama taught me.  

Finished the Party Penguin quilt for my niece.  We started it together in the summer when she stayed with me, and I quilted it while she was here for Christmas.

I'm pretty sure she loved it.  Cause she told me on FB, and if it is there, it is golden.

She had two carry on bags, one had the quilt, I told her is she loses a bag make sure it was the other one.  

I saw a tutorial for an iPad Cover over on One Shabby Chick's blog months ago.  I didn't have a reason to make the cover, as I didn't own an iPad, I just coveted one.   I wanted to make the cover anyway, and I would hold on to it until one day when I snuck out and bought the iPad and then would have to hide it from everyone.

But I didn't have to be sneaky after all.  My hubby took care of my wish list.  Thank goodness I didn't impulsively buy one just to make this precious cover.  Really, I would have done it, if you have a tote or a cover you need something to put in it.  It's a rule somewhere, I know.

I used an oilcloth fabric for the exterior, instead of fabric.  Hands make fabric dirty.  But the actual iPad is going to stay super clean, like use Purell before touching it, please.  So I did use fabric on the inside.  

I love having a reason to make this cover!  

Now, I also have a reason to use this dinosaur.  Check back later.