Search This Blog

Monday, June 30, 2014

Summer Canvas

Every other month in the Virginia Beach Modern Quilt Guild we have a member swap.  This month's swap was a mini quilt swap with a summer theme.

I chose to use Canvas pattern by Leanne Chahley of She Can Quilt.  This is a well written pattern with measurements for many different sizes of quilt already figured for you.  

For the summer theme I chose several different shades of Kona solids that represented the sun and a neutral border color 


For quilting, I chose a variegated thread that had the same colors of the center block


This variegated thread changed the look of the center block, I think it added another element to the sun colors.  Making them seem to blend together.


My quilting pattern is called 'matchstick quilting', it is essentially lines of quilting very close together.  I went in one direction over the color portion of the mini, and the opposite direction for the border.  


There is a lot of texture to this quilting, I'm not sure I would want it on a bed quilt or lap quilt, but I think it is perfect for a wall hanging


For the binding, I decided to fuse and stitch the edges.  Fusing a binding is a little short cut if you are working on something that won't be washed much.  A mini wall hanging qualifies for fused binding.  I also stitched around the edge of the binding for reinforcement.  I had a bright green hand dyed fabric that went perfect with the summer theme.  


My mini was 14" finished

Keep Calm and Quilt On!
Mary


Friday, June 27, 2014

Fields

I started this quilt over a year ago as part of a challenge.
I had an assortment of Kona solids, prints, Shot Cottons, linen, and Oakshott cottons


I wanted an improv pieced quilt and I played with my layout for a month
Progress photos 


Improv is not for everyone, some don't like lack of guidelines, planning, or straight seams.  It doesn't have to be that way, you can add your own guidelines - making blocks that are 12 1/2" or keeping all seams going in one direction.  For this quilt I did a lot of sewing, then cutting, then sewing back together to get an effect I was happy with.


Eventually this quilt top began to remind me of the fields we see flying.  While not too high in the  sky, when you look down the land is a pattern of fields and forests.  Until you get to a city - but that will have to be a different quilt.


The forested areas look boxed in by the pattern of fields from the air, and there are a myriad of colors represented in the forest areas as well as the field strips.

After starting the quilting on this top,  I was put off by the tedious quilting pattern I had chosen, I was matchstick quilting before I knew that was what it was called! Other projects and deadlines were calling me, so I put this one away.


Earlier in the week I pulled this out and decided to finish the quilting so I could submit the quilt for consideration in an exhibit.  I had kept all the threads I had pulled for quilting together as well as the extra fabrics.  The miracle was that I knew where the quilt was, I knew where the threads were, and I knew where the fabrics were.


I pulled out new threads to add to the pile, not all threads were used, but some threads matched fabrics perfectly


So I quilted and quilted and quilted (remembering why I had put this away) for 3 days, changing color threads, going back when I came across an area I had missed.  There are a million starts and stops, and a million threads to trim up.  


Binding from left over fabrics


Now it's done and its submitted.  Whether or not it is chosen for the exhibit, I took the step of entering.  It's scary having your work, something you are passionate about, spent time and energy making, judged by others as worthy or not. 

Fields


61" x 40"
Kona Solids, linen, Shot Cottons, Oakshott cottons, cotton prints
Cotton/Wool 50/50 Matilda Batting
Aurifil, Superior, and King Tut threads

Keep Calm and Quilt On!
Mary


Wednesday, June 25, 2014

Herringbone Quilt

I'm not sure when, but somewhere on Instagram or clicking through Flickr I came across a post about Maureen Cracknell and the Herringbone Quilt she made using the quilt as you go (QAYG) method.

I have wanted to give QAYG a try, and this seemed like the perfect pattern


I chose Joel Dewberry Heirloom collection for my quilt


And I added solids, in Kona and Oakshott.  I don't normally cut everything out ahead of time, I'm usually to anxious to see how colors will come together or if what I see in my brain translates to something that looks good in real life.  This was all new to me


All my strips are 2 1/2"
After I cut everything, I remeasured my bed and realized I needed more strips, so some other Joel Dewberry and few more solids went into the strip piles


And then I started sewing strips to pre-cut batting strips


This is for my kind sized bed, and I look forward to one day being able to actually put it on my bed.  I  will work on strips in between other projects, so it's slow going, but it will get there.  I have 7 strips completed so far


I'm very happy how this is turning out!

Linking up to Freshly Pieced for WiP Wednesday

Keep Calm and Quilt On!
Mary


Monday, June 23, 2014

Foundation Piecing

(Thanks for sticking around readers during my dry spell and these bad night time iPone photos!  If you come back later this week, I will have a giveaway on my blog and on IG for your sticktoitness.)

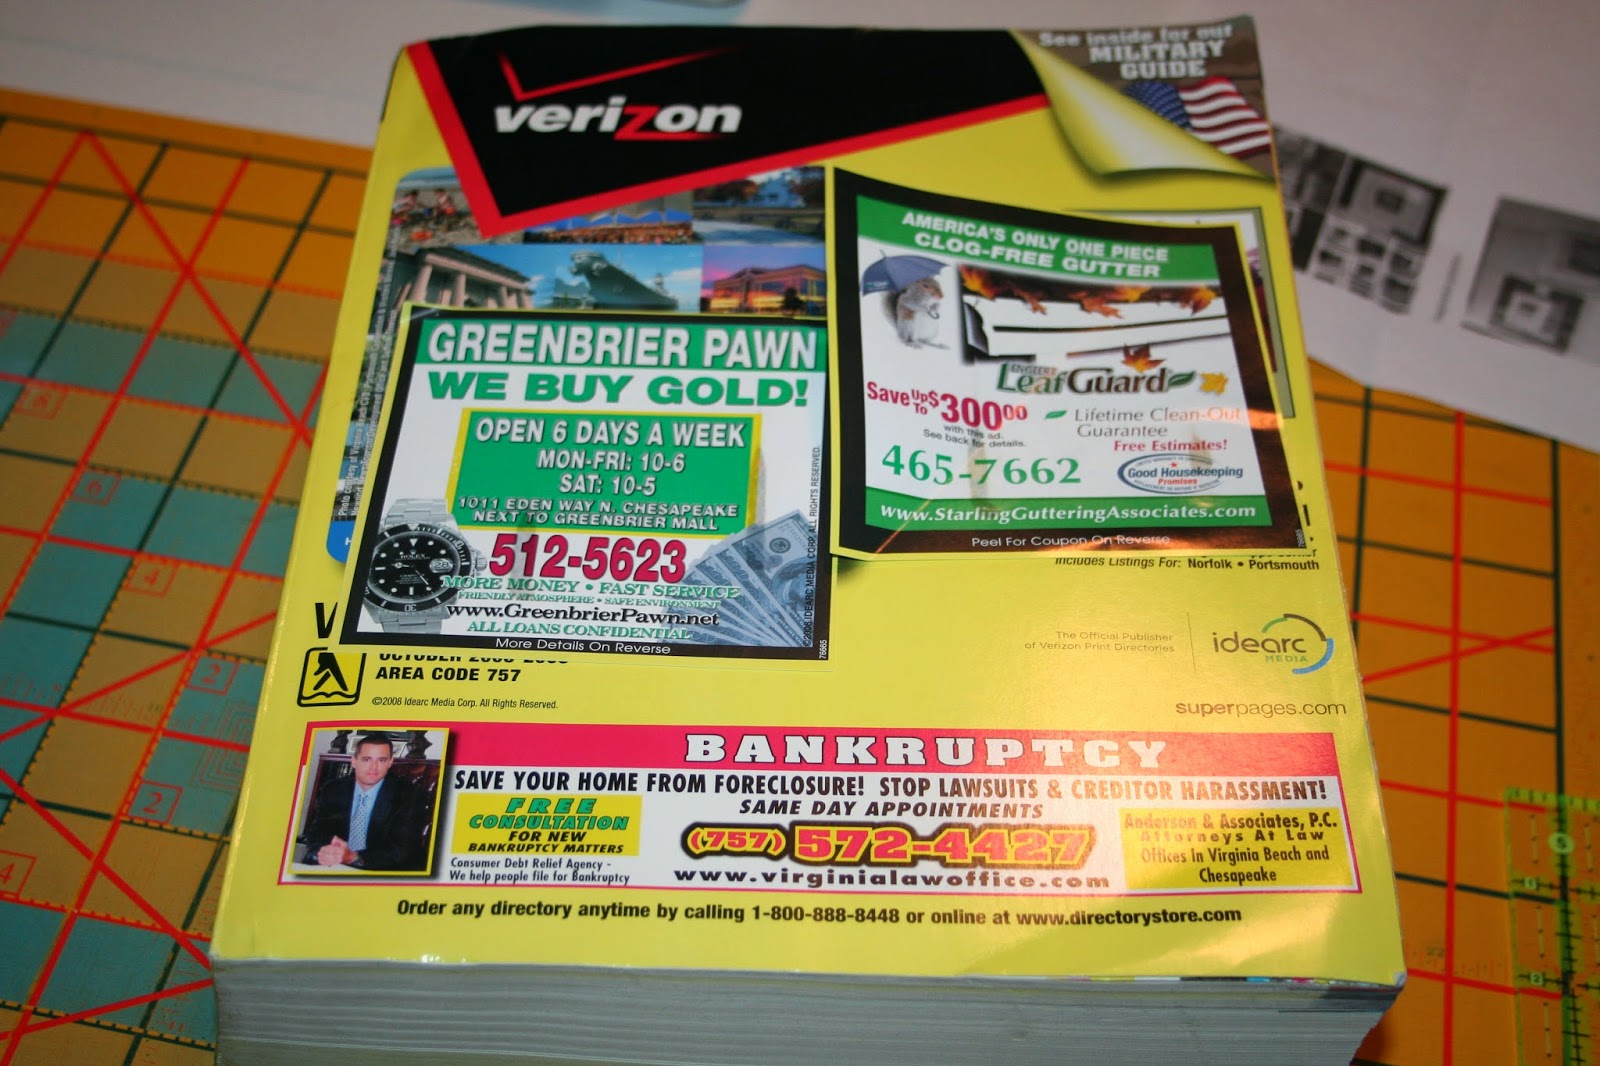
What use a phone book these days?  


Certainly not for looking up phone numbers.  I bet some of you have never even opened one of these bricks.  In the olden days of the 90's (that's 1990's not 1890's) we actually had to find a phone number we wanted without Google.

I kept a book for purposes other than phone numbers


You can use these pages for foundation piecing blocks

String Block
String Block
My original tutorial for this block is here

I wanted to go with a wonky look for a string block I made recently, I wrote up the steps to make this popular String Block Wonky version

Frist cut your foundation phone book pages 6 1/2" - this is the size of each 1/4 section of the block (Of course you can use other foundation paper, some use graph paper, copy paper, tissue paper, anything you can tear.  Phone book paper is very thin and easy to tear.)

You'll need strips of scraps in your colors, these can also be random colors, and the strips should vary in widths.  


A solid strip for the center is usually 1" wide, but you can chose a wider version.  For this particular block I chose a black solid for the center strip that is 1" wide


You can glue stick this down on your paper, I just center it and hold it in place myself.  This piece is placed right side up

This paper is thin enough you don't need to lower your stitch length when stitching.  But you can if you prefer.  I leave mine at the normal stitch length

Chose your first strip and lay it right sides together on top of the black, and stitch one side through the foundation paper.  Press 


To make this block wonky, place your next strip off of the seam line, creating an off center seam line


Personally, going through the steps after the first strip is added, I fold back my foundation paper, not sewing through it.  It is there for you to follow the shape.  Sewing through gives you slightly more stability, but I don't think it's needed on such a small piece.  This is a personal choice after making several of these blocks, so it is up to you if you want to do this or sew through the foundation paper


You can trim off some of the excess as you go, I use scissors, I'm not getting up next to the foundation piece, just cutting off what is hanging way over


Now keep adding strips to one side, I make one side of the center black strip at a time, you can go back and forth if that way works for you


The back looks like this when you sew through the foundation just on the center black strip


After you have both sides together of the 1/4 section, trim to the 6 1/2" size of the foundation piece


Removing the paper is simple, it tears so easily, and quicker if you only made the two seams on the black strip


Sew the four sections together

Wonky String Block

Wonky String Block

Keep Calm and Quilt On!
Mary


Sunday, June 22, 2014

Here it is the end of June....

Knock, knock, knock - is this thing working????

I just realized that I haven't blogged for almost two months!  
Where has the time gone - it's mostly over on Instagram where you can find me almost daily
Things are changing, and changing fast.  I used to be on Flickr more often too, but I have not been spending any time over there at all lately, but I promise to get some photos posted on that site.  

Instagram makes it so easy to photo, comment, and move on quickly in this speed of the internet world.  It's good to slow down, take a break, and really get more information out about my projects and tutorials.  I have many things happening, and I want to share with you what is coming up, and what I've been making lately.  

So, let's get this party started.

And the real party is happening over at Cotton and Steel.  What an introduction to the fabric world for this newly formed division of RJR Fabrics!  I am coveting a particular line that will be coming out, I'll let you know when I have some safely stored away in my stash.


The Basics Collection


I have a friend - and this is a friend that I met through Instagram, so we were really only virtual friends - you know you have them too - she went to Quilt Market and was able to pet Cotton and Steel in person.  
Then she visited my area, we met in real life (!) and she graciously bestowed upon me some 2 1/2" squares of the basics collection. (I may have drooled a little when she brought them out, and she felt sorry for me). Not in stores yet - Whoot whoot.


What to do with a bevy of 2 1/2" squares - mini or pillow?
I paired the Cotton and Steel basics with some Carolyn Friedlander , because honestly, what doesn't go with Architextures or Botanics?  It will be a sad sad sad day when I run out of these fabrics (but that day is quite a ways off, maybe years off).


I put the squares on point and then quilted a grid.  I decided to go with a black YLI jeans thread around the colored squares to highlight the colors, and make a good outline of each print.


I went with pillow cover 


The Aurifil pillow was a gift another virtual Flickr/IG friend that I met in person at Sew South in March, Courtiepie. And the Joel Dewberry pillow cover is from my Sew South Secret Sister who turned out to be Kelly / Kelbysews 
I think I could be a pillow hoarder - I would like pillows in all the lines now.  Yes I mean ALL lines, not just Cotton and Steel or Joel Dewberry, all.  

I apologize that these photos are not fantastic - most were taken at night, when I do most of my sewing.  And also on my phone/camera, which does a pretty good job, but really the actual camera does so much better.  But not at night.  Another thing to work on!  

Keep Calm and Quilt On!
Mary