Search This Blog

Showing posts with label Tutorial. Show all posts

Monday, June 23, 2014

Foundation Piecing

(Thanks for sticking around readers during my dry spell and these bad night time iPone photos!  If you come back later this week, I will have a giveaway on my blog and on IG for your sticktoitness.)

What use a phone book these days?  


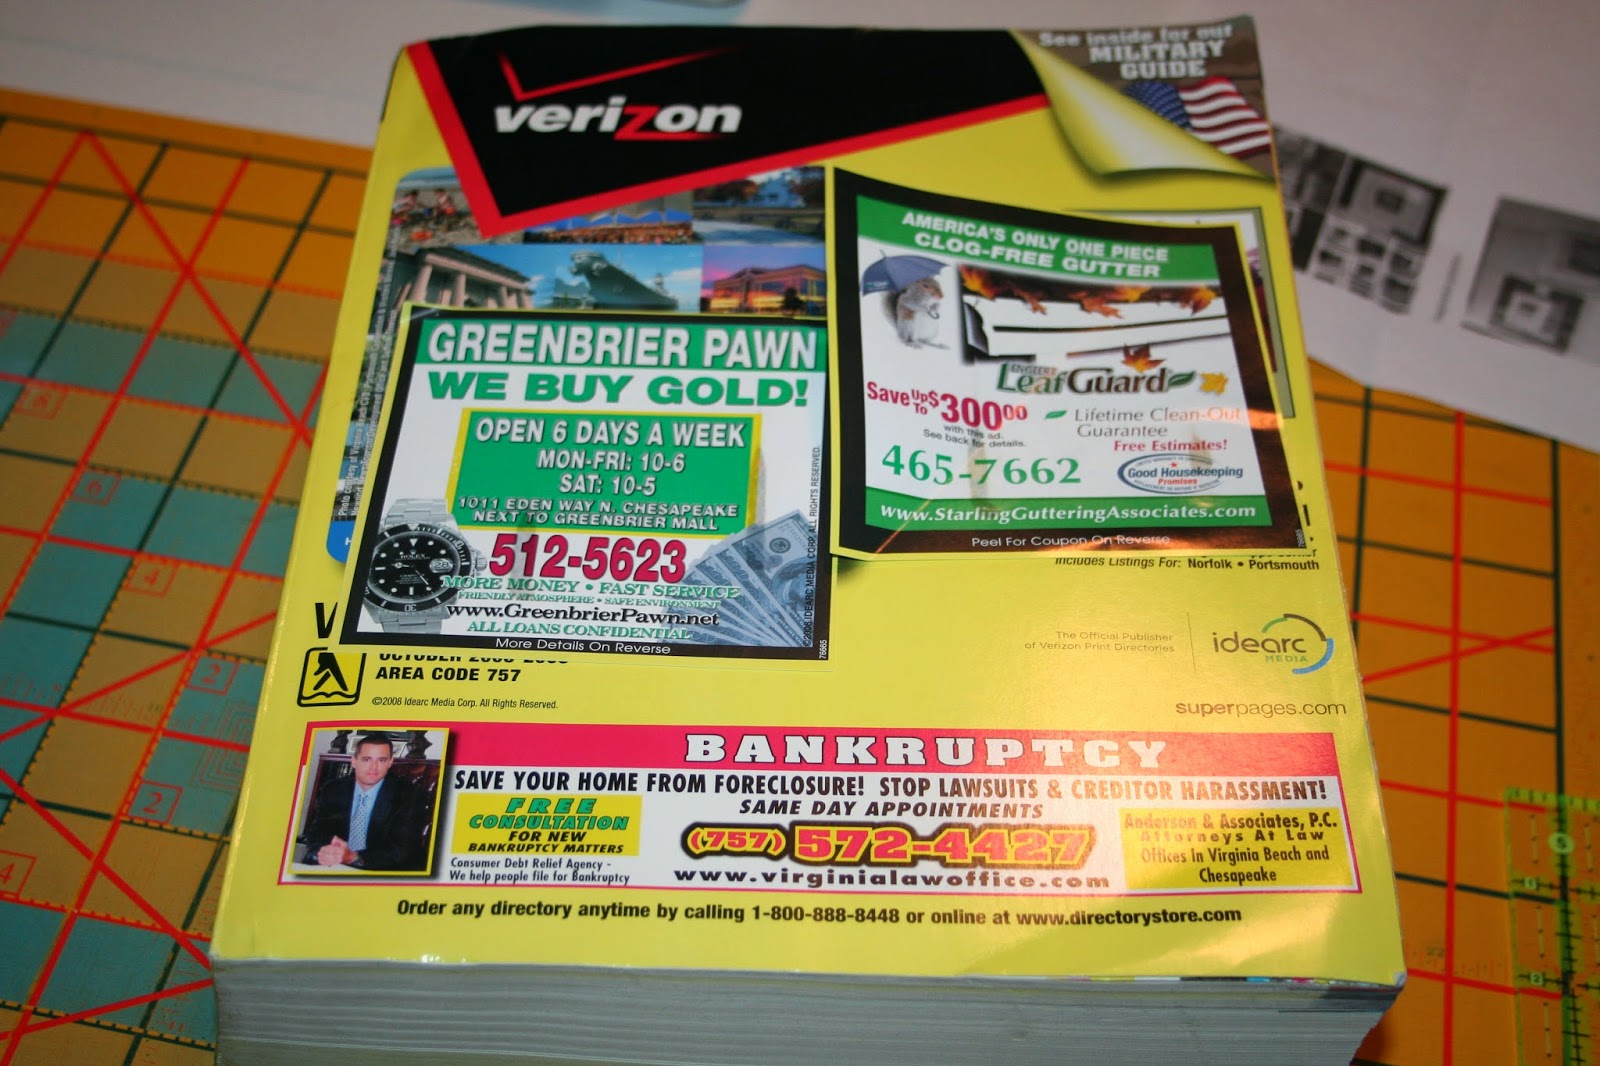
Certainly not for looking up phone numbers.  I bet some of you have never even opened one of these bricks.  In the olden days of the 90's (that's 1990's not 1890's) we actually had to find a phone number we wanted without Google.

I kept a book for purposes other than phone numbers


You can use these pages for foundation piecing blocks

String Block
String Block
My original tutorial for this block is here

I wanted to go with a wonky look for a string block I made recently, I wrote up the steps to make this popular String Block Wonky version

Frist cut your foundation phone book pages 6 1/2" - this is the size of each 1/4 section of the block (Of course you can use other foundation paper, some use graph paper, copy paper, tissue paper, anything you can tear.  Phone book paper is very thin and easy to tear.)

You'll need strips of scraps in your colors, these can also be random colors, and the strips should vary in widths.  


A solid strip for the center is usually 1" wide, but you can chose a wider version.  For this particular block I chose a black solid for the center strip that is 1" wide


You can glue stick this down on your paper, I just center it and hold it in place myself.  This piece is placed right side up

This paper is thin enough you don't need to lower your stitch length when stitching.  But you can if you prefer.  I leave mine at the normal stitch length

Chose your first strip and lay it right sides together on top of the black, and stitch one side through the foundation paper.  Press 


To make this block wonky, place your next strip off of the seam line, creating an off center seam line


Personally, going through the steps after the first strip is added, I fold back my foundation paper, not sewing through it.  It is there for you to follow the shape.  Sewing through gives you slightly more stability, but I don't think it's needed on such a small piece.  This is a personal choice after making several of these blocks, so it is up to you if you want to do this or sew through the foundation paper


You can trim off some of the excess as you go, I use scissors, I'm not getting up next to the foundation piece, just cutting off what is hanging way over


Now keep adding strips to one side, I make one side of the center black strip at a time, you can go back and forth if that way works for you


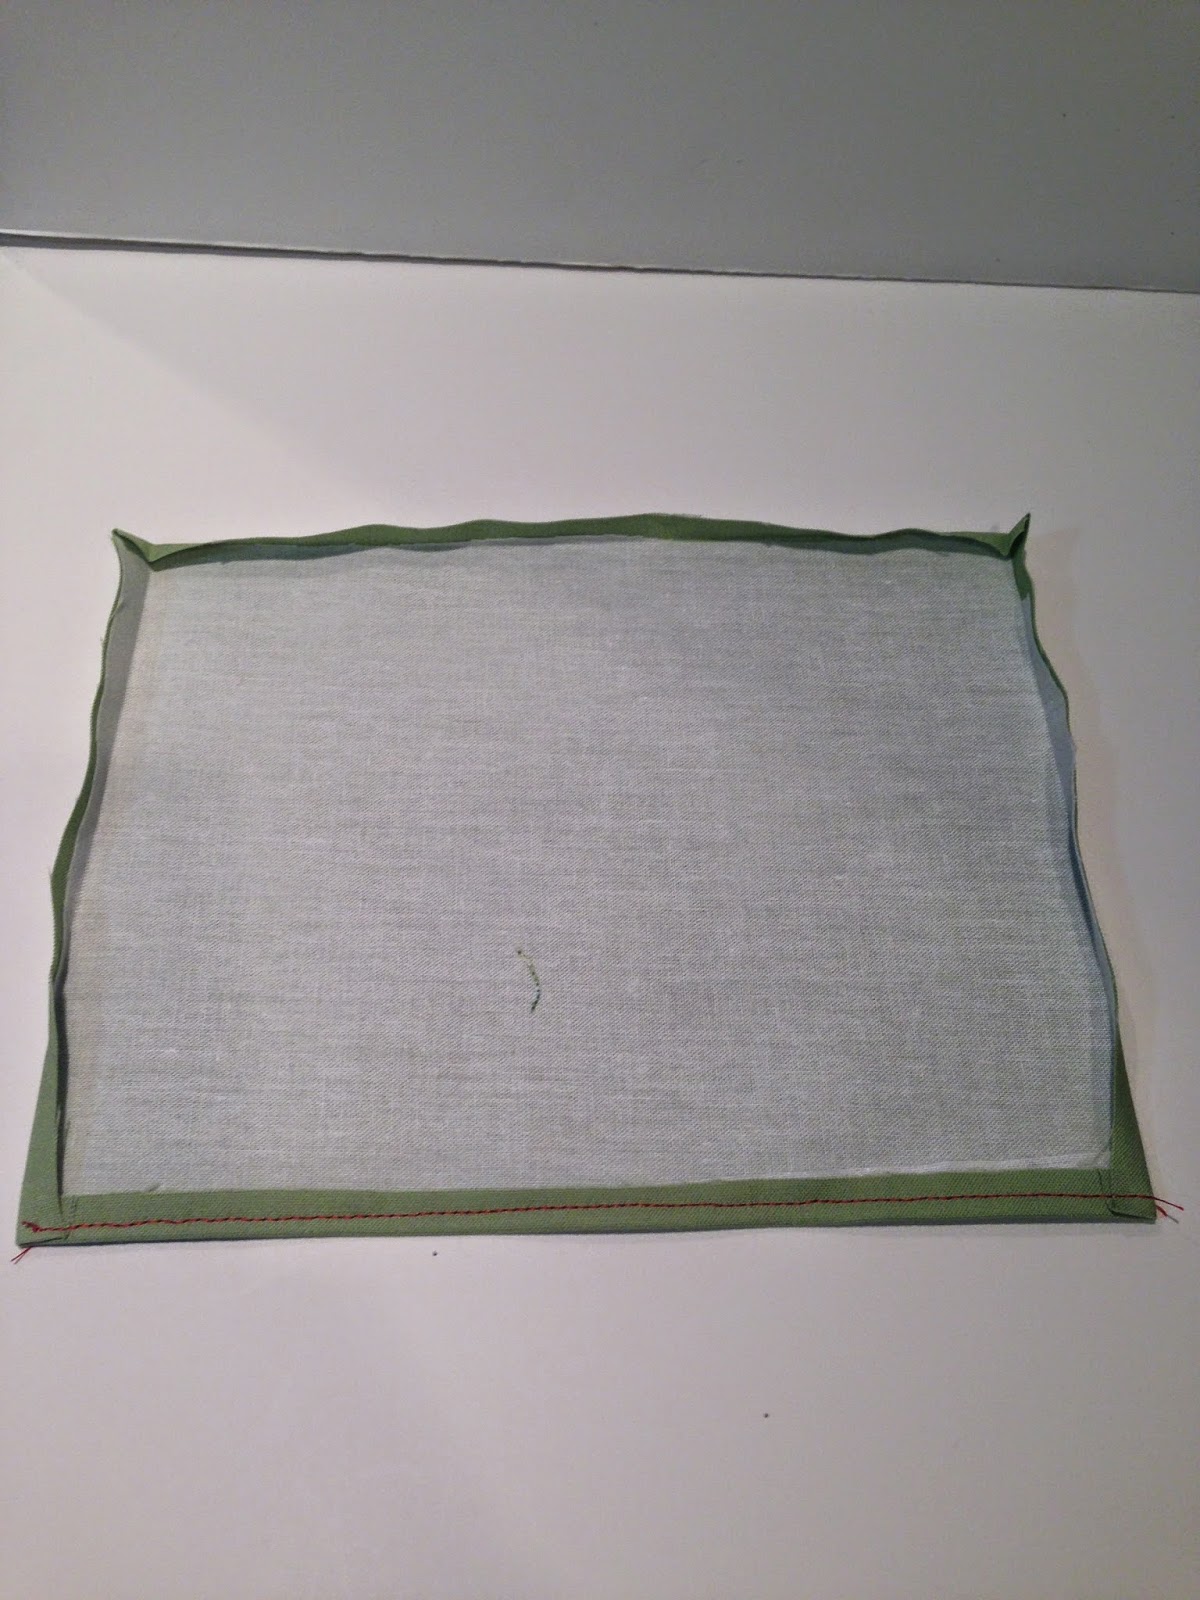
The back looks like this when you sew through the foundation just on the center black strip


After you have both sides together of the 1/4 section, trim to the 6 1/2" size of the foundation piece


Removing the paper is simple, it tears so easily, and quicker if you only made the two seams on the black strip


Sew the four sections together

Wonky String Block

Wonky String Block

Keep Calm and Quilt On!
Mary


Sunday, April 20, 2014

Tote Bag Tutorial

I have made 3 of these totes, the first two were given away in swaps. With this last one I took progress photos and wrote down measurements, and I'm going to keep this one.

Photo heavy post! And some photos were taken at night, sorry about that - but that is when I can sew and when the progress photos get taken.  
Here are the other two totes I made with the same process
This is the front of one 


This is the back of another

The front of the one above

Here is the finished tote for the tutorial


This tutorial is for the tote only - I will do a post later in the week on the thread painting.

The finished tote measurements are approximately 17" h X 15" w X 5" d with a 14-15" handle drop.

Start with a selection of fabrics cut 4 1/2" square.  For this tote I used Wee Wander by Sarah Jane for Michael Miller fabrics.  I loved the whimsical springtime feeling of these fabrics.  I added some Botanics by Carolyn Friedlander for Robert Kaufman and a few solids.
You will need 25 squares for the back and 25 for the front (if your front does not have a focal block in the center)

Sew together squares for the back exterior of the tote 
5 rows of 5 
If your front is the same, you can sew together those squares also
Back of tote before quilting


Front of tote before quilting- if you want a focal block, this one is 12 1/2" unfinished, and it will fit perfectly in the center of the 4 1/2" squares to make the 20" x 20" sized front


I lined my back and front exterior pieces with Pellon SF-101, I like this bit of lining for totes and bags.


Layer the back and front  exterior with batting (no need for a backing layer before quilting as there will be a lining in the finished tote) and quilt as desired.  If you have a focal block for the front, you will need a 20"x 20" quilted front, make this as you desire, and cut to the same size as back.  

I matchstick quilted - which looks fabulous and helps hold the shape of the bag, but takes quite awhile so be prepared to spend some time at your machine doing this.  


Cut two lining pieces the same size as your exterior pieces, 20" X 20"

You can add to this tote slip pockets, swivel hook for keys, closures.  For this tote I added a slip pocket for my phone and a swivel hook for my keys.  This is a deep tote, I don't want to dig for the little things.

To add a slip pocket, cut a piece of fabric 7" x 8 1/2" ( you can change to any size your desire), line this piece with Pellon SF-101 for a finished look inside the slip pocket.  Press each side under 1/4" and top stitch along the top only (long side)


Attach to one side of lining approximately 3 1/2" down from the top edge and 6" from each side.  Stitch along 3 sides (not the top), creating a slip pocket.


Sew together the two lining pieces, right sides together, along two sides and bottom with a 1/2" seam allowance.  Fold over the top edge 1/2" all the way around and press, toward the wrong side.  Press your seams as you desire, I pressed open.  You will box the bottom corners, I have photos of this with the exterior of the bag, it is the same process for the lining of the bag.  

For the exterior pieces, right sides together, sew together along 3 sides - the bottom and 2 sides with a 1/2" seam allowance.  Press the seams open and now you will box the bottom.  With right sides together, lay the exterior pieces so that the seams line up, going out from the corner, measure 3" along the seam and draw a stitch line across the exterior, all the way across.


Stitch across drawn line, back stitching at beginning and end
then cut off the corner 1/2"  from the stitched line.  Do this to both bottom corners of exterior and repeat for the lining.  


For handles you have several options, you can use cotton web and just attach, leather straps or lined cotton web.  I chose the lined cotton web for this tote.  This tote has an approximate 15" handle drop, so the cotton web pieces should be cut 30" each (not 15" as I did the first time!).  My cotton web was 1 1/2" wide, I cut a piece of fabric 3" X 30" to line the web.  


Fold under each long edge of fabric 1/4" and press.  Lay the cotton web centered down the fabric piece (wrong side of fabric), fold fabric over edge of cotton web, and glue baste each side, then top stitch.  If you do not glue baste, you can clip with wonder clips.
In this photo the green strap has been edge stitched and the peach one has been glue basted.


Turn exterior right sides out, and attach the handles to the top edge of the exterior with a 1/4" from edge stitch.  Line up the handles how you desire, make sure both sides are equal.  When placing the handles, and before sewing down, roll the handle back up as if you are holding the tote to verify the handles will be facing the correct direction and won't be twisted when you have a finished bag.  


This is where I also attached my swivel hook, along the edge close to the corner.  


With the exterior of the tote turned right sides out, press under along the top edge 1/2".  Place the lining inside the exterior with wrong sides facing, pull out the handles, and the swivel hook if you have it attached, and clip the lining to the exterior all the way around, lining up the side seams.  


I changed to my walking foot to edge stitch around the perimeter of the tote at 1/4".  Make sure to catch the handles and the swivel piece.  


And now you should be able to take a deep breath and have a large tote to carry all your miscellaneous to your next meeting, play date, road trip or just walking around to show off our skills


Keep Calm and Quilt On!

Mary


Saturday, June 15, 2013

Finished Friday?????

All day yesterday I thought I would put these photos on the blog and link to Finished Friday, TODAY.  Today is Saturday by the way.  I have lost a whole day somewhere.  And imagine waking up today, at 5, because you still think you have work.  Well,  I will still be working but hey, at least the phone wont' be ringing because it really isn't Friday!  

Sewing was slow going all week - and I would complain that I could only get to one block per night, but I think I will be grateful that I did have the time, energy, and supplies to make these blocks this week.  


I enjoy making this block so much.  It is colorful and can utilize scraps (who doesn't like that!) and it is simple.  Here is a quick tutorial on how to make this block.

I am adding five of these blocks to a top that is part of a Flickr group, Traveling Quilts.  We each started with a block or part of a top and it is being passed through the group and each person adds to the top.


I was reminded recently by another quilter that sometimes we let the little things get to us when really we don't have it so bad.  We are doing what we want to do.   

Someone else added these giraffes.  And it made me wish that this top was mine to keep.  The Mama giraffe and her line of offspring following her.


Sometimes we brighten someone else's day with a quilt or tote or little gift that we hand made.  Isn't it a wonderful day when you get that note or phone call or facebook post that someone received our gift and they love it?

The quilter this top belongs to started with the large one piece string block on the left side of the top.  I think we have complemented her colors and starter piece nicely.  I hope she will like this, it is going back to her next.  


That maybe we shouldn't complain about not having enough time to sew, but rejoice that we can do something we love when we have time to spare.  

Last one.  Colors not perfect on this one - it was hard to adjust and get the colors right.  


And this top is off today!  I love getting something off my 'projects for others' list - I know they are waiting anxiously for the return of their blocks or project.  

Have a great weekend quilty peeps!  
Linking up with Finished Friday even though its' Saturday
And another link party I found called Sew and Tell Saturday because it really is Saturday!

Keep Calm and Quilt On!


Tuesday, March 12, 2013

String Block

One of the loveliest blocks I know is the simple string block.
It's colorful, can use up scraps, good size and most important it is easy.

Yesterday I was making up one for a swap 

Him:  You use the phone book?
Me:  All the time.
Him:  But you are always telling me to 'goggle it'.
Me:  Oh, well I never use it to look up numbers, that would be slow and cumbersome.  Have you picked up one of these things?  It weighs a ton. 
Him:  Ok, I'm afraid to ask - why are you using the phone book?
Me:  The pages are thin and rip off easy.
Him:  You're sewing it?
Me:  Yes!  What else is a phone book good for these days?
Him:  What are you sewing?
Me:  You could google it.
Him:  I'm leaving.
Me:  (silently) Yay........

Here is how you can make some pretty string blocks 
Start with pages you rip out of the brick book and cut them to 6 1/2" 


Some people have asked about the ink - I haven't had a problem with it getting on the fabrics.

Your center piece is the important one - I cut mine 1 1/4" to lay diagonally down the center of the square page.
This is Kona White - but you can make it whatever you would like.
Some people might pin the white strip or glue it down in a spot - I just lay it on there and eyeball it.  
Chose a variety of prints in your colors or even scrappy, cut these strips a variety of sizes.
Lay a colored or print strip on one side of the white center and stitch through the paper.
Do the other side.
(this photo shows a second color strip added on one side - but you get the idea)


I press these open before sewing on the next strip.  Lay your next strips down, trim for correct length, and fold back the paper - only sew on the fabric not through the paper.  The paper at this point is just a guide for size. 


Press after each strip is added.
When you have the entire paper covered, trim down the sides to the 6 1/2" size of the paper square.


You can play with the placement of the squares to make your block after they are all trimmed. 
I only had 4 squares for this one, but if you are making multiple blocks you will have a lot more options.


Now pull off the phone book paper before you join the squares together.
The paper rips off very easily.


Finished Block


Here are a few that I made for a Flickr Swap.  In this swap we used a cut 1" Kona white strip.


Right now there is a new round in the Flickr group that is swapping this block Here.
They have guidelines for the center strip and the paper, so read about it, but it is open to anyone.

My finished string block is going to Amanda in the QAWII Flickr group.
Here are all her blocks so far, she wanted aqua and grey with a pop of color.  My orange is really popping!


There is still time to enter Quilters Blog Hop Give Away (until March 14th)

 Sunday 3/17 I will be setting up the Sew Sunday link Party - you can be sewing, crafting, painting - let us see what you are up to on Sundays!  

Image Hosted by ImageShack.us

You can grab the button on the right side bar - 

Keep Calm and Quilt On!
Mary