Search This Blog

Showing posts with label paint. Show all posts

Friday, July 6, 2012

Step 1 Step 2 - The Two Step

I have not been working on this for a LOOONNNGGGG time, I started wayyyy back here.  To refresh, I'm in a challenge with a LQG, we are doing a series based on color.  Making a finished 12" block for each color choice.  The first step was yellow.  


 My thought process started with tea bags and maybe a tea cup in a window, but where I ended up was with a 'Cinderella Moment' and a dress hanging, waiting.  Maybe it's waiting for tea.  My thoughts do not take a straight line.


I was going for an open window and wanted a bird to play a part in this block.  I ended up stamping a bird on the window cloth, using Staz On - Timber.  He's a cutie!  Gives me a reason to justify all those stamps I have.  At least this one.


All done.  The dress is hanging waiting for Cinderella to arrive.  


The dress is a piece of silk and at the bottom I attached a gold Godiva Chocolate wrapper, the whole thing covered in tulle.  I stitched the hanger free motion.  The saying is 'Every Girl Deserves a Cinderella Moment'.  


Step 2 is (was) Purple.  This was due in May.  Pink is actually due now - but let's not get too far ahead of me.
Ok - starting with a piece of PFD cotton, larger than the 12' finished - approx 15".


This one was almost a 'winging it' situation - I did purposely decide to combine two elements I love - stamping and quilting.  I stamped this onto the PFD piece, the stamp is text in French - I have no idea what it says, probably something like 'shop here and spend your money'.  I obliged.    


Then I took these kick-ass watercolor crayons and colored all over the piece - just like first grade - you don't even have to stay in the lines.  (these are available at Dharma Trading - perhaps other places.)  Another purchase justified!  I'm on a roll.

After stamping and coloring this is what the piece looks like. 


After taking water to the crayon markings, I used a q-tip, which I don't recommend, but I didn't have a small brush. The q-tips took forever.  You can blend the colors and outline, the stamp ink is Staz On, and that is what it does, makes a nice outline to follow for the coloring and the following thread painting.   


Thread painting is really just stitching.


Finished Step 2 Purple 12" square


Taa Daa.  Now I'm only one step behind.  Story of my life.  I would never make it in the corporate world, I can not stick to a deadline.  I forgot to add the sleeves to the back, now I'll have to HAND STITCH them on.  I might die, I'll keep you posted.  Now, I'm in search of more purchases that I can justify by using once.


Stay Sweet - and Sew On.


Wednesday, January 11, 2012

Crafties, Goodies, Beeies

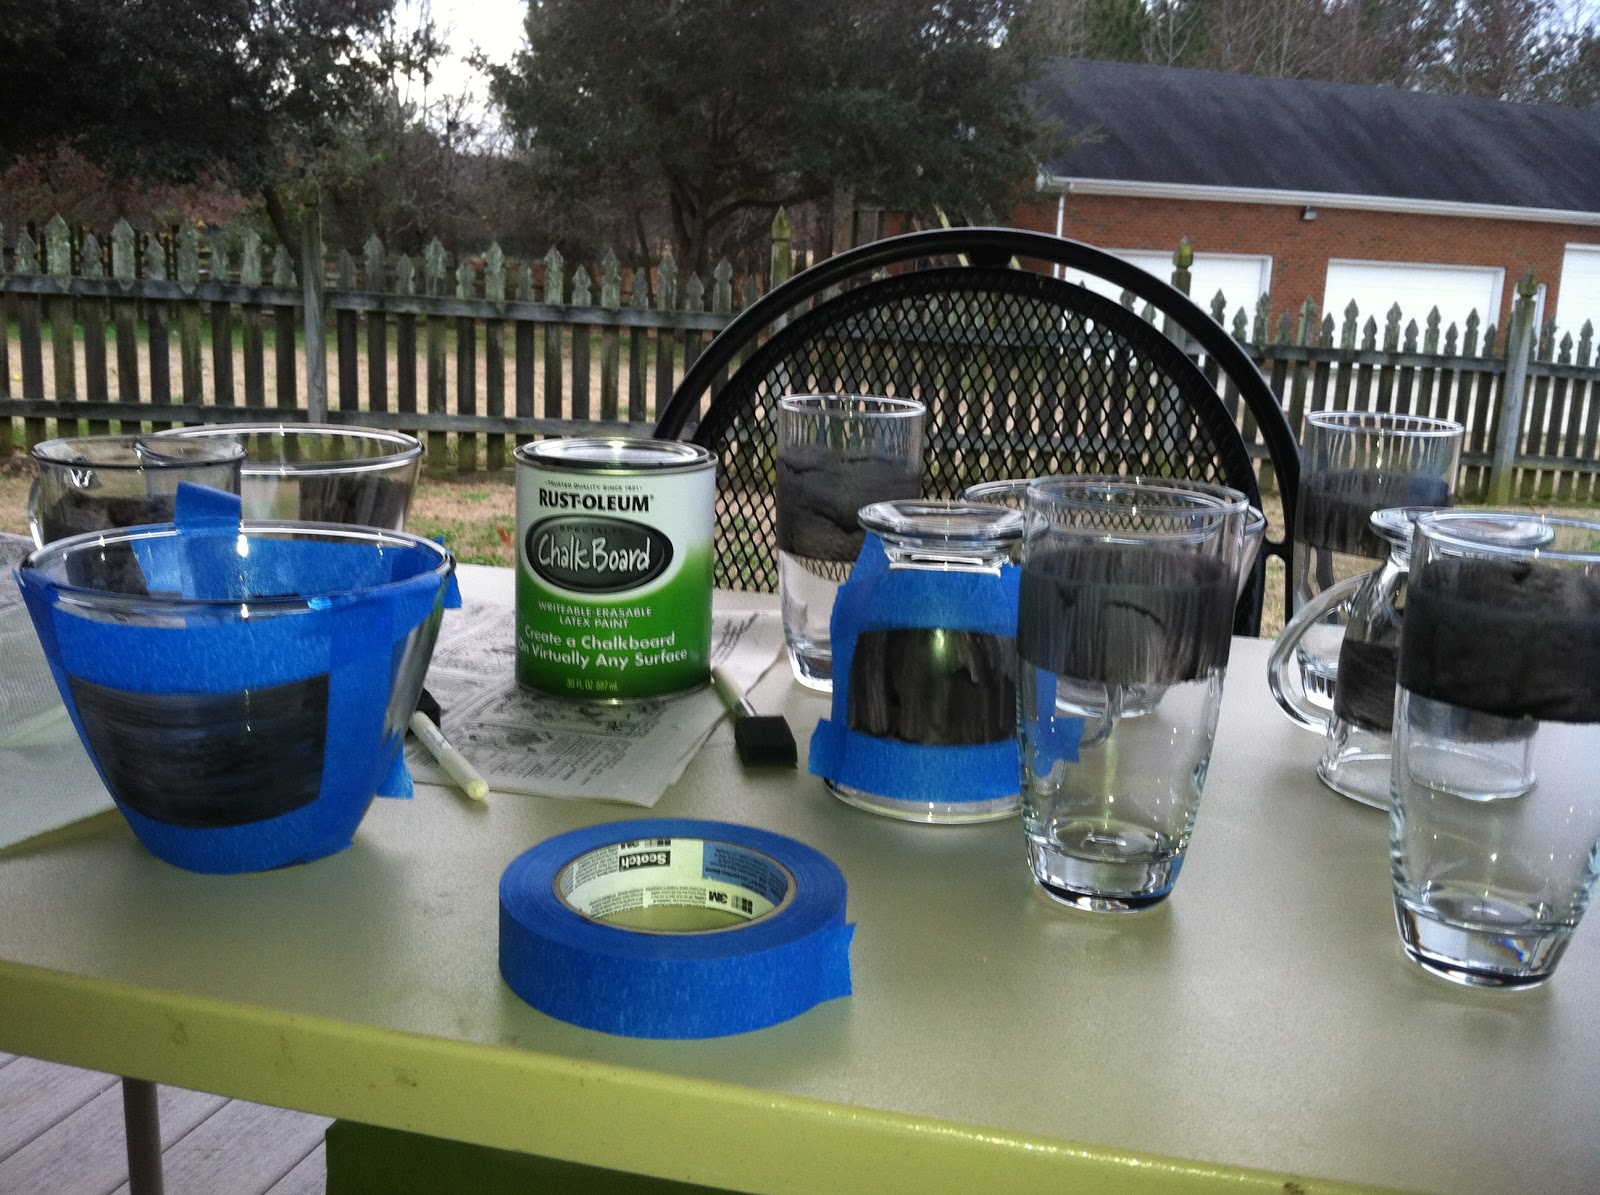
My daughter had a great idea before Christmas, she saw a picture of a mug with chalk board paint on it, and decided to make these for Christmas presents.  I sent her to Michael's, Home Depot, and TJ Maxx for mugs and supplies.  We had plenty of time, like a week before Christmas to get these done, the weather was gorgeous se we got to work outside.

Apparently chalk board paint does not stick to ceramic mugs.  It just peels right off, like an orange peel.  Because my daughter is MY daughter, she did not read any directions, and neither did I, since I am, well me; we just started painting the ceramic mugs.  All of them.  Luckily, since the paint just peeled off, I did peel it off to return the ceramic mugs.    

After a return trip to TJ Maxx and some Googleing to you know, read some directions, we bought glass mugs, bowls and glasses to paint.  We used painter tape to square off areas for painting.

It took about 4 coats of paint, and after the first coat I could have stopped with the painters tape, but I didn't realize that until I was through about 50% of the painting.  I just kept taking it off, in one set of directions it told us to take the tape off right away so that the edges wouldn't pull off.  Then re-taping very accurately with curse words around the same area.  After the first coat I discovered I could just come close enough with the sponge brush and didn't need the tape.

We added some decorative touches with paint I had on hand and goodies and chalk to the gifts.  They were a hit.  They were all given away, and after all my help, I didn't get one!  I'm owed for next year, we have plenty of paint left.

I was so shocked/happy/surprised to get this in the mail from one of my bee mates!  Elisa in Sew Bee It flickr group sent it with her January fabrics!  I love this bag!  She made it from a bag that held rabbit pellets, aren't the rabbits just darling!  I will use it when shopping for all my pets!  Thank you Elisa!  I adore it.

I wanted to make much more of these swap string blocks.  Especially after I laid them all out together.  They are gorgeous!  I didn't run out of scraps to use, just time.   I only made 20 for the swap, I will be making more.  Here's the swap group if you want to join, round 2 is going to start.  

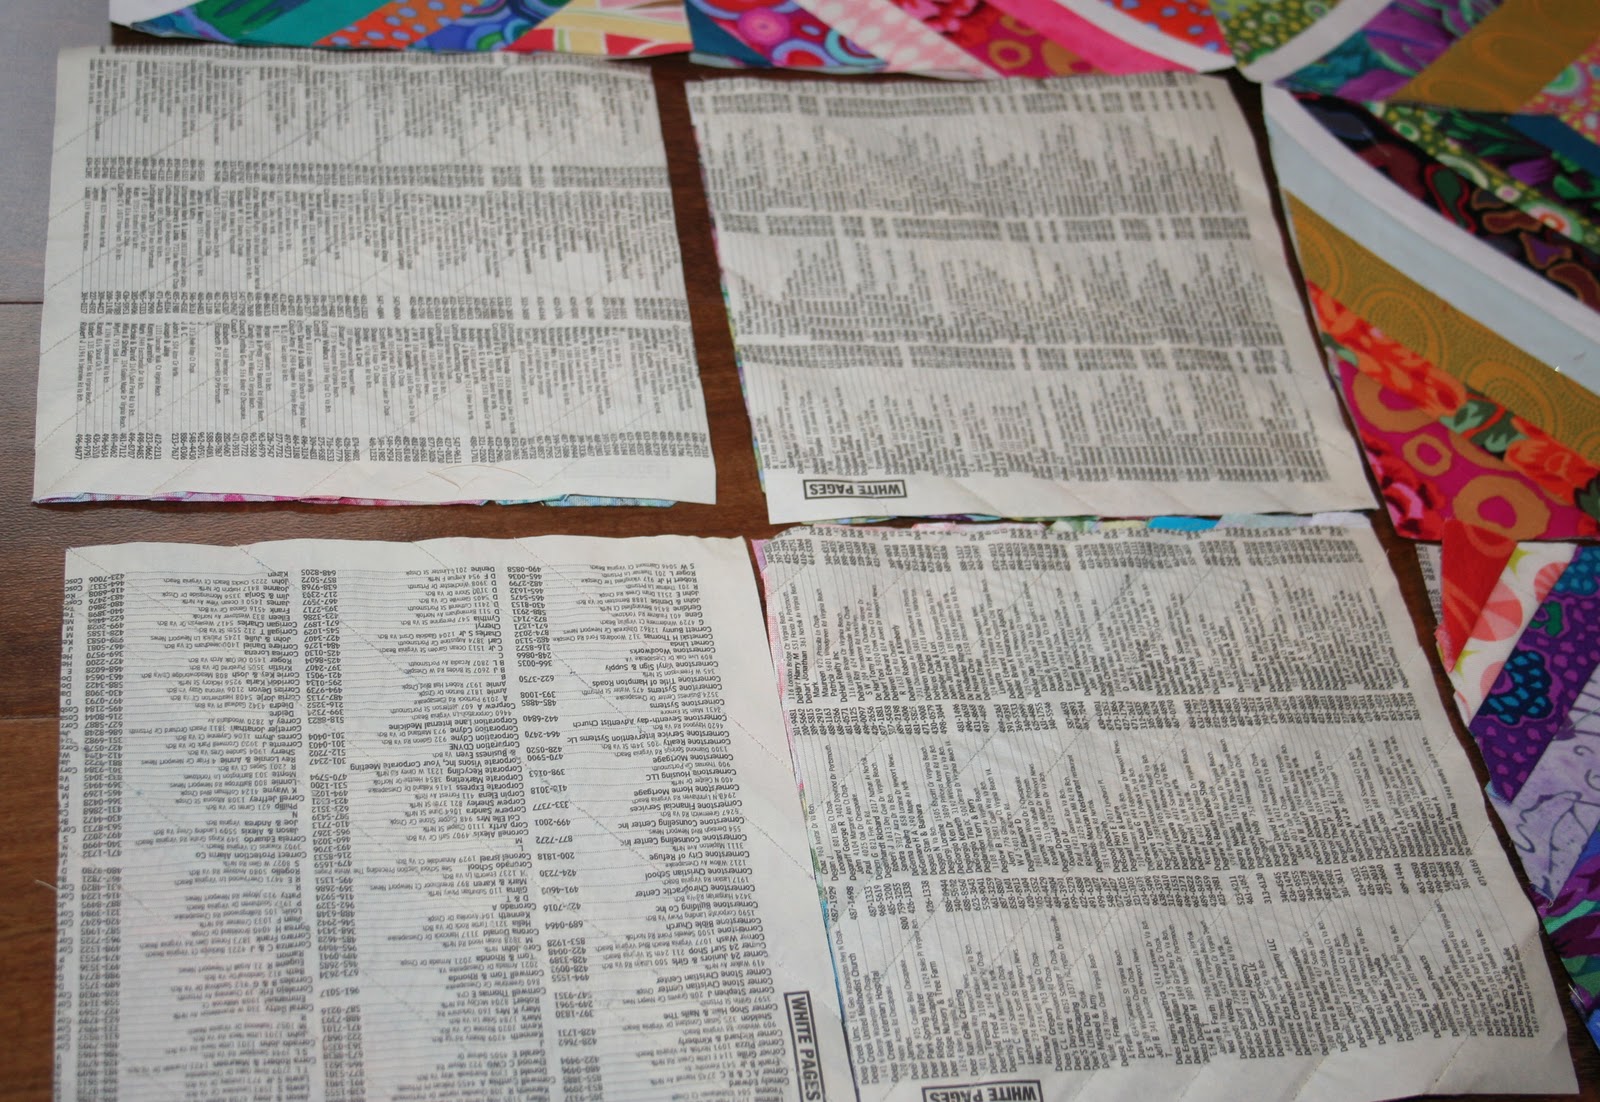
This is what I used the phone book pages for, the foundations for the string blocks.  Good use of phone book pages, I can't imagine having to use these to look up numbers anymore.  Kids, we actually used these books at one time, and Rain Man actually memorized his!  

Just one more, my block for January Block Party Bee, we are using blocks from the book Block Party.  The String X block.